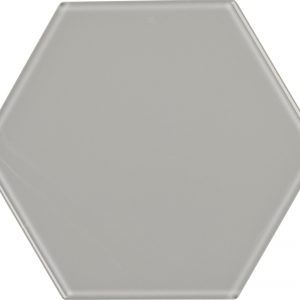
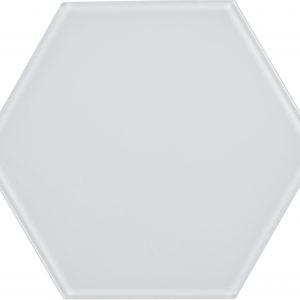
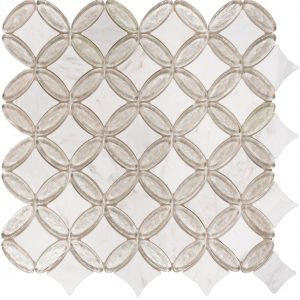
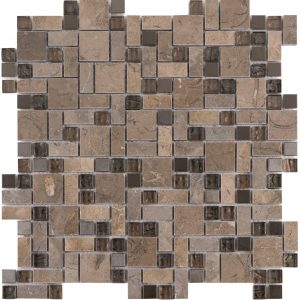
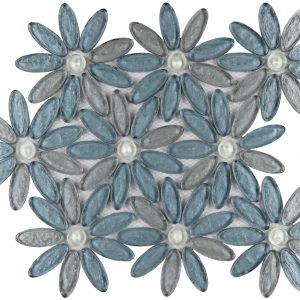
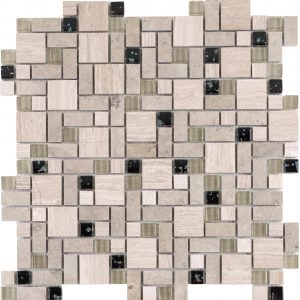
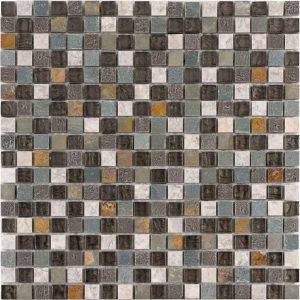
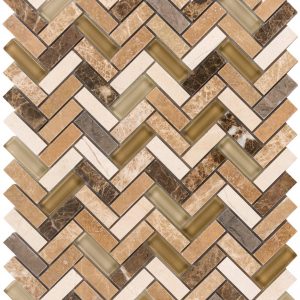
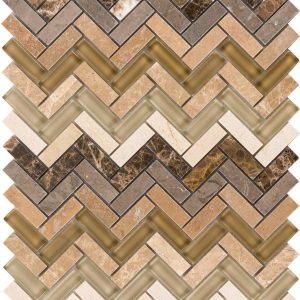
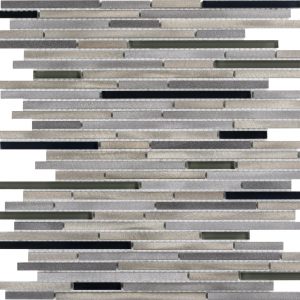
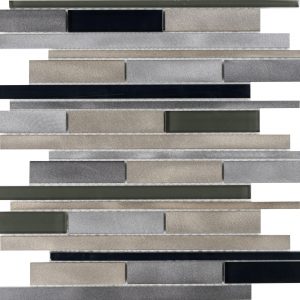
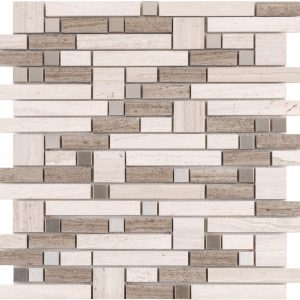
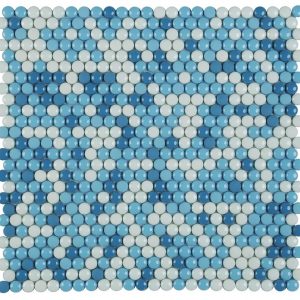
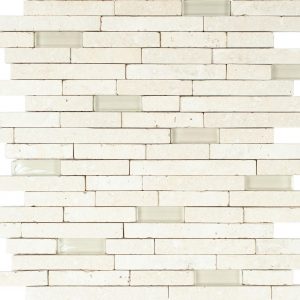
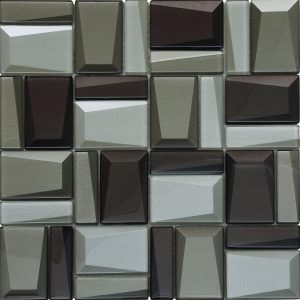
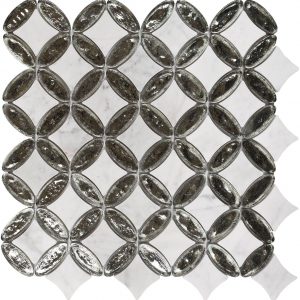
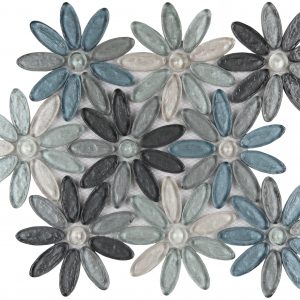
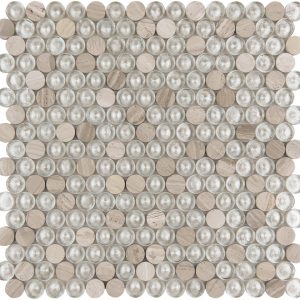
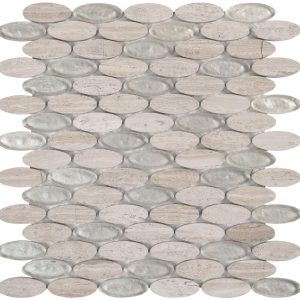
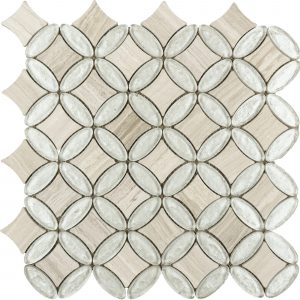
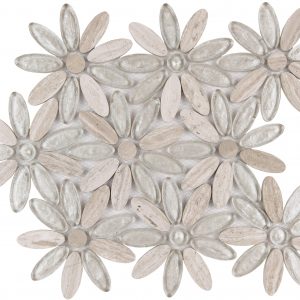
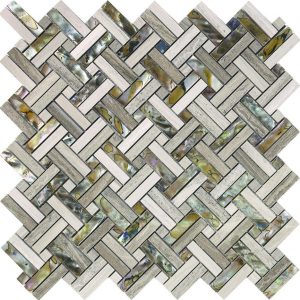
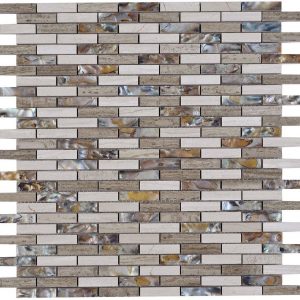
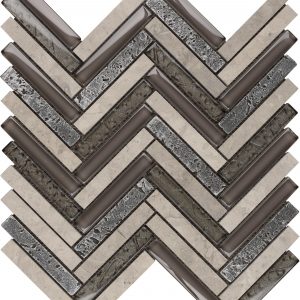
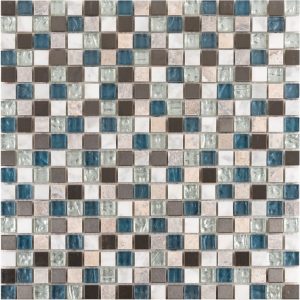
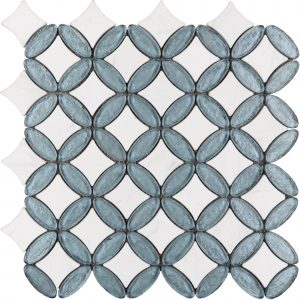
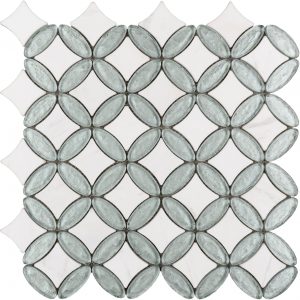
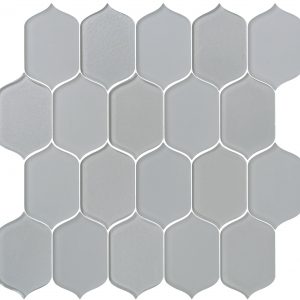
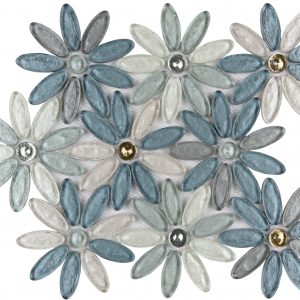
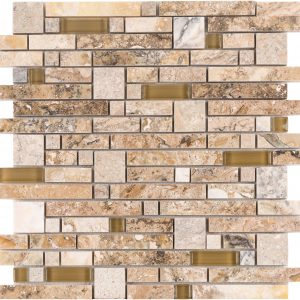
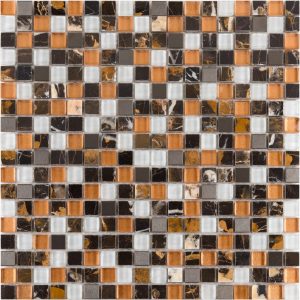
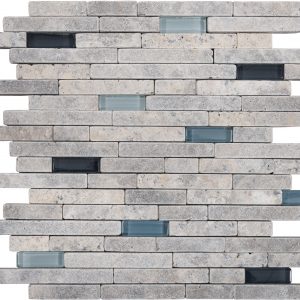
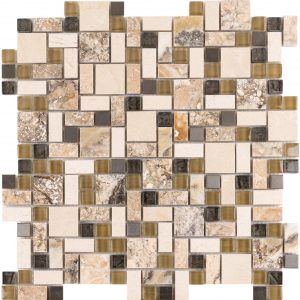
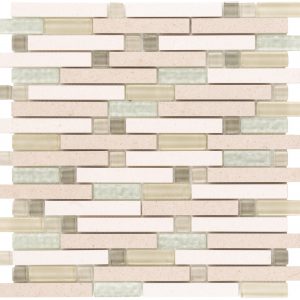
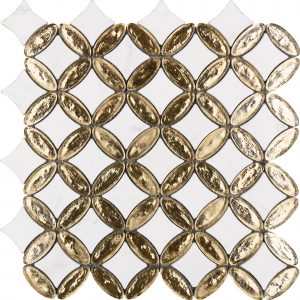
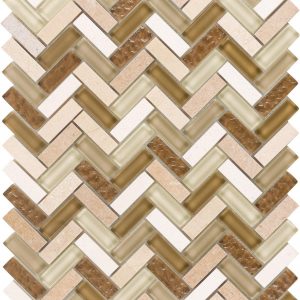
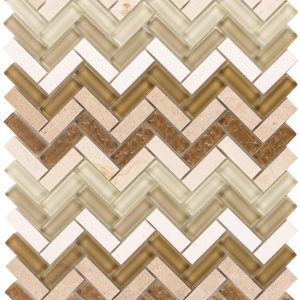
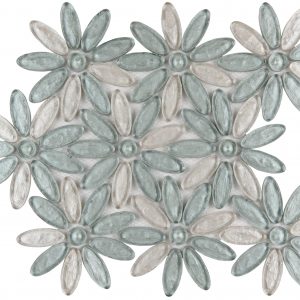
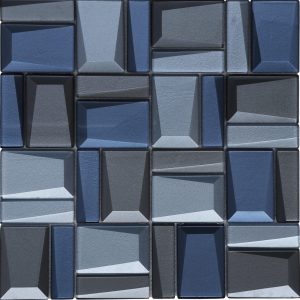
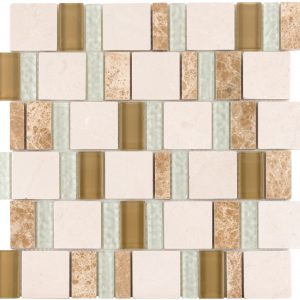
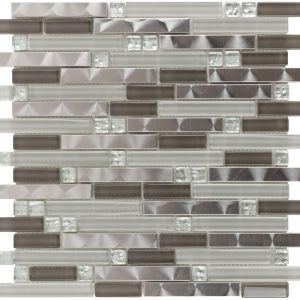
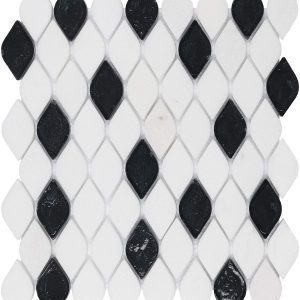
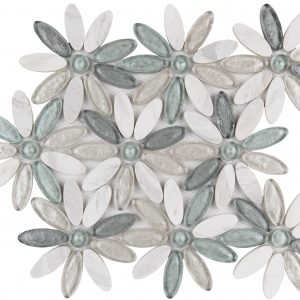
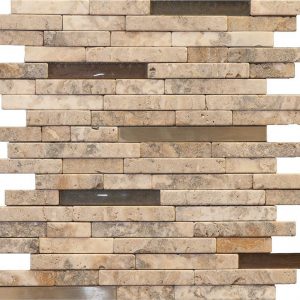
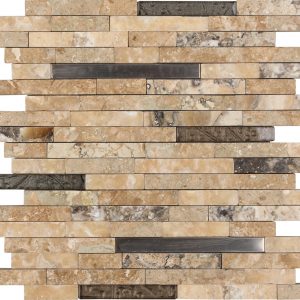
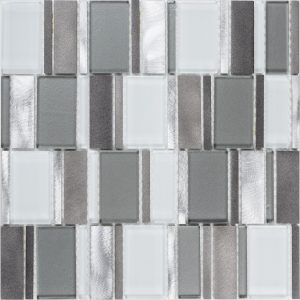
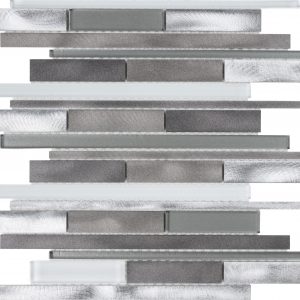
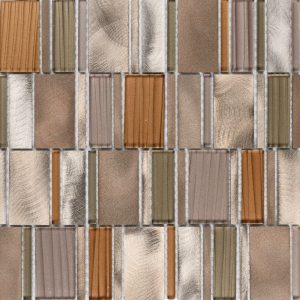
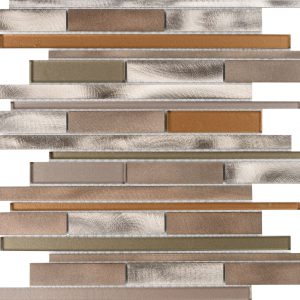
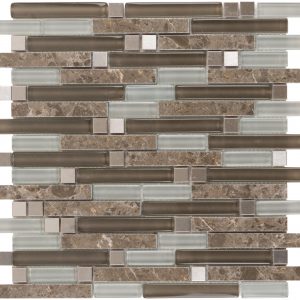
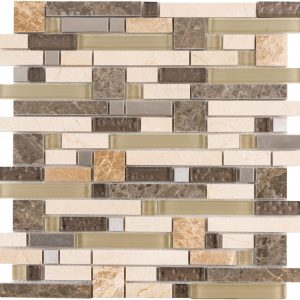
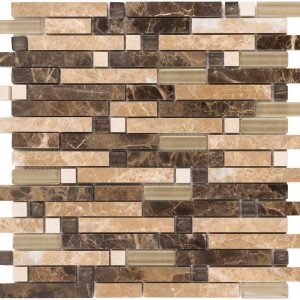
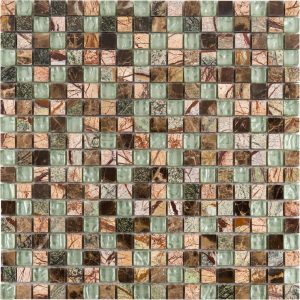
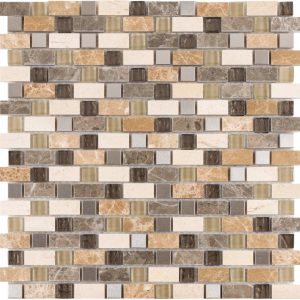
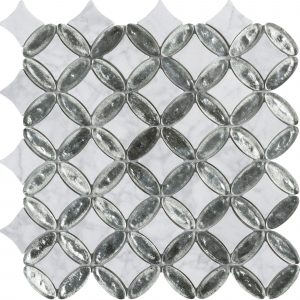
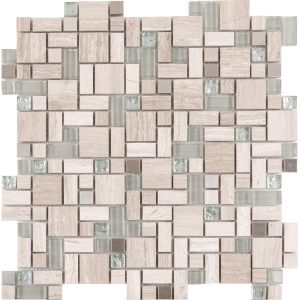
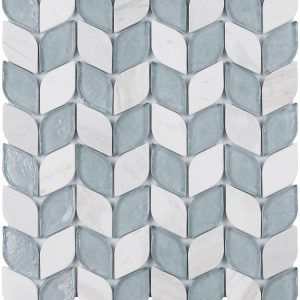
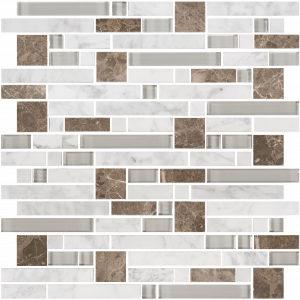
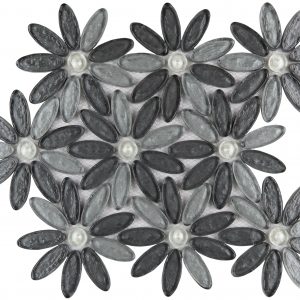
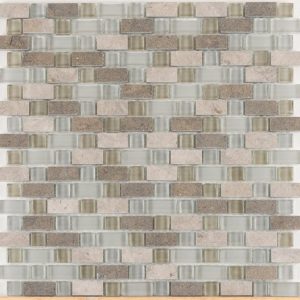
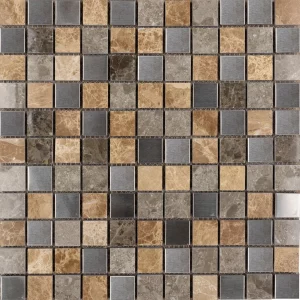
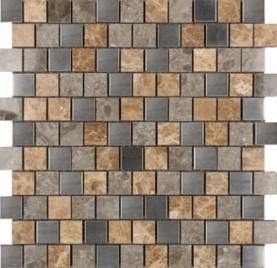
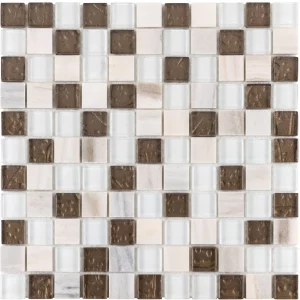
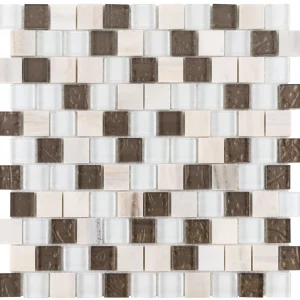
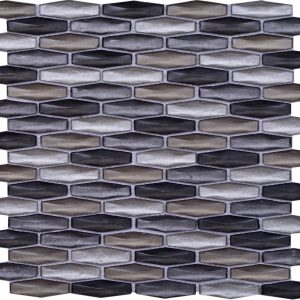
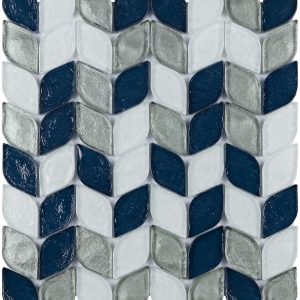
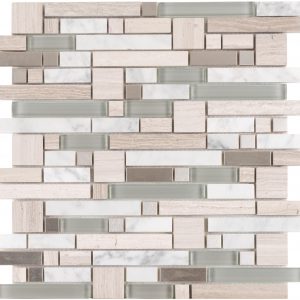
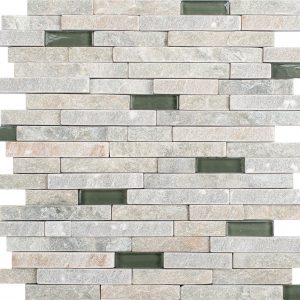
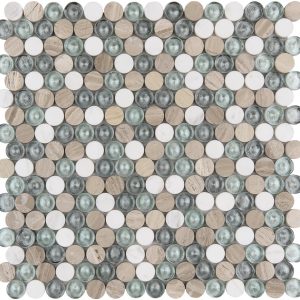
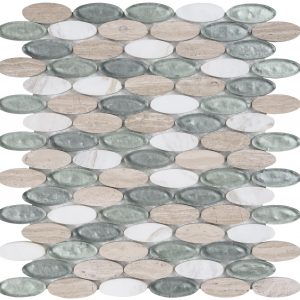
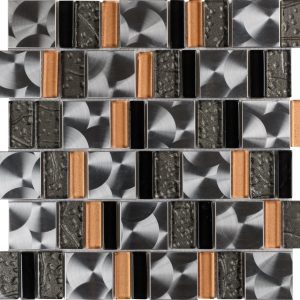
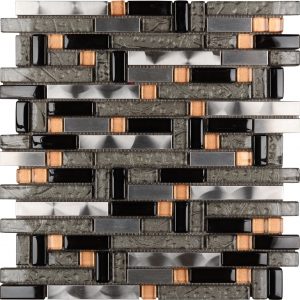
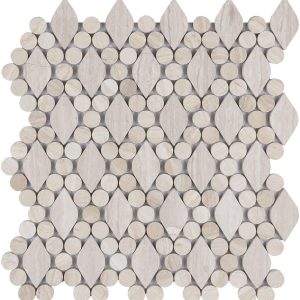
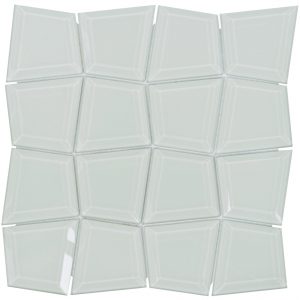
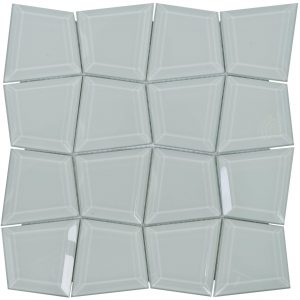
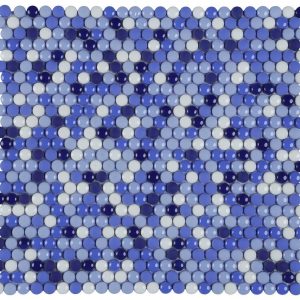
Skip to content
kibatile
  • About Us
  • Collections
  • Mosaic Creator
  • Technical
  • Toggle website search
Menu Close
  • About Us
  • Collections
  • Mosaic Creator
  • Technical
  • Toggle website search
  • View:
  • 12
  • 24
  • All
  • 8″ Downpour Hexagon Tile
    • 8″ Downpour Hexagon Tile
    • 8″ Downpour Hexagon Tile

  • 8″ Gravel Hexagon Tile
    • 8″ Gravel Hexagon Tile
    • 8″ Gravel Hexagon Tile

  • 8″ Hailstorm Hexagon Tile
    • 8″ Hailstorm Hexagon Tile
    • 8″ Hailstorm Hexagon Tile

  • 8″ Sand Dollar Hexagon Tile
    • 8″ Sand Dollar Hexagon Tile
    • 8″ Sand Dollar Hexagon Tile

  • 8″ Whisper Gray Hexagon Tile
    • 8″ Whisper Gray Hexagon Tile
    • 8″ Whisper Gray Hexagon Tile

  • 8″ White Hexagon Tile
    • 8″ White Hexagon Tile
    • 8″ White Hexagon Tile

  • Aberdeen Elyptic Diamond Mosaic
    • Aberdeen Elyptic Diamond Mosaic
    • Aberdeen Elyptic Diamond Mosaic

  • Almond Breeze Refraction Mosaic
    • Almond Breeze Refraction Mosaic
    • Almond Breeze Refraction Mosaic

  • Alpinia Floral Mosaic
    • Alpinia Floral Mosaic
    • Alpinia Floral Mosaic

  • Alverstone Refraction Mosaic
    • Alverstone Refraction Mosaic
    • Alverstone Refraction Mosaic

  • Amalfi Coast 5/8″ x 5/8″ Mosaic
    • Amalfi Coast 5/8″ x 5/8″ Mosaic
    • Amalfi Coast 5/8″ x 5/8″ Mosaic

  • Amber Sway Herringbone Mosaic
    • Amber Sway Herringbone Mosaic
    • Amber Sway Herringbone Mosaic

  • Amber Sway Richter Mosaic
    • Amber Sway Richter Mosaic
    • Amber Sway Richter Mosaic

  • Angel Falls Dew Drops Mosaic
    • Angel Falls Dew Drops Mosaic
    • Angel Falls Dew Drops Mosaic

  • Arctic Boom Bullet Linear Mosaic
    • Arctic Boom Bullet Linear Mosaic
    • Arctic Boom Bullet Linear Mosaic

  • Arctic Boom Random Linear Mosaic
    • Arctic Boom Random Linear Mosaic
    • Arctic Boom Random Linear Mosaic

  • Argento Falls Rockfall Mosaic
    • Argento Falls Rockfall Mosaic
    • Argento Falls Rockfall Mosaic

  • Aruba Island Collection
    • Aruba Island Collection
    • Aruba Island Collection

  • Ash Hill Faultline Mosaic
    • Ash Hill Faultline Mosaic
    • Ash Hill Faultline Mosaic

  • Asscher Facet Mosaic
    • Asscher Facet Mosaic
    • Asscher Facet Mosaic

  • Aurora Dew Drops Mosaic
    • Aurora Dew Drops Mosaic
    • Aurora Dew Drops Mosaic

  • Aurora Elyptic Diamond Mosaic
    • Aurora Elyptic Diamond Mosaic
    • Aurora Elyptic Diamond Mosaic

  • Begonia Floral Mosaic
    • Begonia Floral Mosaic
    • Begonia Floral Mosaic

  • Bel Air Button Mosaic
    • Bel Air Button Mosaic
    • Bel Air Button Mosaic

  • Bel Air Elyptic Brickset Mosaic
    • Bel Air Elyptic Brickset Mosaic
    • Bel Air Elyptic Brickset Mosaic

  • Bel Air Elyptic Diamond Mosaic
    • Bel Air Elyptic Diamond Mosaic
    • Bel Air Elyptic Diamond Mosaic

  • Bel Air Floral Mosaic
    • Bel Air Floral Mosaic
    • Bel Air Floral Mosaic

  • Black Sand Beach 2 By Basketweave Mosaic
    • Black Sand Beach 2 By Basketweave Mosaic
    • Black Sand Beach 2 By Basketweave Mosaic

  • Black Sand Beach Chevron Mosaic
    • Black Sand Beach Chevron Mosaic
    • Black Sand Beach Chevron Mosaic

  • Black Sand Beach Mini Brickset Mosaic
    • Black Sand Beach Mini Brickset Mosaic
    • Black Sand Beach Mini Brickset Mosaic

  • Blackburn 5/8″ x 4″ Herringbone Mosaic
    • Blackburn 5/8″ x 4″ Herringbone Mosaic
    • Blackburn 5/8″ x 4″ Herringbone Mosaic

  • Blue Lagoon 5/8″ x 5/8″ Mosaic
    • Blue Lagoon 5/8″ x 5/8″ Mosaic
    • Blue Lagoon 5/8″ x 5/8″ Mosaic

  • Brighton Elyptic Diamond Mosaic
    • Brighton Elyptic Diamond Mosaic
    • Brighton Elyptic Diamond Mosaic

  • Bristol Elyptic Diamond Mosaic
    • Bristol Elyptic Diamond Mosaic
    • Bristol Elyptic Diamond Mosaic

  • Bubbly Lantern Mosaic
    • Bubbly Lantern Mosaic
    • Bubbly Lantern Mosaic

  • Calathea Floral Mosaic
    • Calathea Floral Mosaic
    • Calathea Floral Mosaic

  • Canyon Falls Rockfall Mosaic
    • Canyon Falls Rockfall Mosaic
    • Canyon Falls Rockfall Mosaic

  • Carmeletto 5/8″ x 5/8″ Mosaic
    • Carmeletto 5/8″ x 5/8″ Mosaic
    • Carmeletto 5/8″ x 5/8″ Mosaic

  • Cascadia Faultline Mosaic
    • Cascadia Faultline Mosaic
    • Cascadia Faultline Mosaic

  • Castle Rock Refraction Mosaic
    • Castle Rock Refraction Mosaic
    • Castle Rock Refraction Mosaic

  • Champagne Blush Linear Mosaic
    • Champagne Blush Linear Mosaic
    • Champagne Blush Linear Mosaic

  • Chelsea Elyptic Diamond Mosaic
    • Chelsea Elyptic Diamond Mosaic
    • Chelsea Elyptic Diamond Mosaic

  • Churchill Pass Herringbone Mosaic
    • Churchill Pass Herringbone Mosaic
    • Churchill Pass Herringbone Mosaic

  • Churchill Pass Richter Mosaic
    • Churchill Pass Richter Mosaic
    • Churchill Pass Richter Mosaic

  • Citrifolia Floral Mosaic
    • Citrifolia Floral Mosaic
    • Citrifolia Floral Mosaic

  • Clarity Facet Mosaic
    • Clarity Facet Mosaic
    • Clarity Facet Mosaic

  • Classic Tiffany 2By Combo Mosaic
    • Classic Tiffany 2By Combo Mosaic
    • Classic Tiffany 2By Combo Mosaic

  • Clear 2″ x 2″ Mosaic
    • Clear 2″ x 2″ Mosaic
    • Clear 2″ x 2″ Mosaic

  • Cliff Rock 1″ x 1″ Mosaic
    • Cliff Rock 1″ x 1″ Mosaic
    • Cliff Rock 1″ x 1″ Mosaic

  • Cliff Rock 1″ x 1″ Offset Mosaic
    • Cliff Rock 1″ x 1″ Offset Mosaic
    • Cliff Rock 1″ x 1″ Offset Mosaic

  • Cool Runnings 5/8″ Combo Mosaic
    • Cool Runnings 5/8″ Combo Mosaic
    • Cool Runnings 5/8″ Combo Mosaic

  • Coventry Elyptic Diamond Mosaic
    • Coventry Elyptic Diamond Mosaic
    • Coventry Elyptic Diamond Mosaic

  • Crema Serene 5/8″ Combo Mosaic
    • Crema Serene 5/8″ Combo Mosaic
    • Crema Serene 5/8″ Combo Mosaic

  • Cricket Song Linear Mosaic
    • Cricket Song Linear Mosaic
    • Cricket Song Linear Mosaic

  • Crystal Sparkle 2By Combo Mosaic
    • Crystal Sparkle 2By Combo Mosaic
    • Crystal Sparkle 2By Combo Mosaic

  • Crystal Sparkle Landslide Mosaic
    • Crystal Sparkle Landslide Mosaic
    • Crystal Sparkle Landslide Mosaic

  • Crystal Sparkle Linear Mosaic
    • Crystal Sparkle Linear Mosaic
    • Crystal Sparkle Linear Mosaic

  • Dahlia Falling Leaves Mosaic
    • Dahlia Falling Leaves Mosaic
    • Dahlia Falling Leaves Mosaic

  • Dahlia Floral Mosaic
    • Dahlia Floral Mosaic
    • Dahlia Floral Mosaic

  • Denali Faultline Mosaic
    • Denali Faultline Mosaic
    • Denali Faultline Mosaic

  • Denali Fissure Mosaic
    • Denali Fissure Mosaic
    • Denali Fissure Mosaic

  • Dorado Parallel Mosaic
    • Dorado Parallel Mosaic
    • Dorado Parallel Mosaic

  • Dorado Random Linear Mosaic
    • Dorado Random Linear Mosaic
    • Dorado Random Linear Mosaic

  • Draco Parallel Mosaic
    • Draco Parallel Mosaic
    • Draco Parallel Mosaic

  • Draco Random Linear Mosaic
    • Draco Random Linear Mosaic
    • Draco Random Linear Mosaic

  • Dusky Sky Linear Mosaic
    • Dusky Sky Linear Mosaic
    • Dusky Sky Linear Mosaic

  • Elbert Falls Rockfall Mosaic
    • Elbert Falls Rockfall Mosaic
    • Elbert Falls Rockfall Mosaic

  • Empire Linear Mosaic
    • Empire Linear Mosaic
    • Empire Linear Mosaic

  • Empire Refraction Mosaic
    • Empire Refraction Mosaic
    • Empire Refraction Mosaic

  • Enchanted Forest 5/8″ x 5/8″ Mosaic
    • Enchanted Forest 5/8″ x 5/8″ Mosaic
    • Enchanted Forest 5/8″ x 5/8″ Mosaic

  • English Cottage 5/8″ Combo Mosaic
    • English Cottage 5/8″ Combo Mosaic
    • English Cottage 5/8″ Combo Mosaic

  • Fairfield Elyptic Diamond Mosaic
    • Fairfield Elyptic Diamond Mosaic
    • Fairfield Elyptic Diamond Mosaic

  • Fairweather Refraction Mosaic
    • Fairweather Refraction Mosaic
    • Fairweather Refraction Mosaic

  • Forget Me Not Blossoms Mosaic
    • Forget Me Not Blossoms Mosaic
    • Forget Me Not Blossoms Mosaic

  • Fossil Creek Falls Rockfall Mosaic
    • Fossil Creek Falls Rockfall Mosaic
    • Fossil Creek Falls Rockfall Mosaic

  • Frangipani Floral Mosaic
    • Frangipani Floral Mosaic
    • Frangipani Floral Mosaic

  • Fresno 5/8″ Combo Mosaic
    • Fresno 5/8″ Combo Mosaic
    • Fresno 5/8″ Combo Mosaic

  • Frosted Birch 1″ x 1″ Mosaic
    • Frosted Birch 1″ x 1″ Mosaic
    • Frosted Birch 1″ x 1″ Mosaic

  • Frosted Birch 1″ x 1″ Offset Mosaic
    • Frosted Birch 1″ x 1″ Offset Mosaic
    • Frosted Birch 1″ x 1″ Offset Mosaic

  • Frozen Tundra 1″ x 1″ Mosaic
    • Frozen Tundra 1″ x 1″ Mosaic
    • Frozen Tundra 1″ x 1″ Mosaic

  • Frozen Tundra 1″ x 1″ Offset Mosaic
    • Frozen Tundra 1″ x 1″ Offset Mosaic
    • Frozen Tundra 1″ x 1″ Offset Mosaic

  • Galahad Excalibur Mosaic
    • Galahad Excalibur Mosaic
    • Galahad Excalibur Mosaic

  • Garden City Blossoms Mosaic
    • Garden City Blossoms Mosaic
    • Garden City Blossoms Mosaic

  • Glacier Falls Rockfall Mosaic
    • Glacier Falls Rockfall Mosaic
    • Glacier Falls Rockfall Mosaic

  • Glen Ivy Faultline Mosaic
    • Glen Ivy Faultline Mosaic
    • Glen Ivy Faultline Mosaic

  • Glenaiden Button Mosaic
    • Glenaiden Button Mosaic
    • Glenaiden Button Mosaic

  • Glenaiden Elyptic Brickset Mosaic
    • Glenaiden Elyptic Brickset Mosaic
    • Glenaiden Elyptic Brickset Mosaic

  • Gold Shimmer 2By Combo Mosaic
    • Gold Shimmer 2By Combo Mosaic
    • Gold Shimmer 2By Combo Mosaic

  • Gold Shimmer Landslide Mosaic
    • Gold Shimmer Landslide Mosaic
    • Gold Shimmer Landslide Mosaic

  • Gold Shimmer Linear Mosaic
    • Gold Shimmer Linear Mosaic
    • Gold Shimmer Linear Mosaic

  • Grande Cascade Dew Drops Mosaic
    • Grande Cascade Dew Drops Mosaic
    • Grande Cascade Dew Drops Mosaic

  • Grey Rock 2By Combo Mosaic
    • Grey Rock 2By Combo Mosaic
    • Grey Rock 2By Combo Mosaic

  • Haiku Elyptic Basketweave Mosaic
    • Haiku Elyptic Basketweave Mosaic
    • Haiku Elyptic Basketweave Mosaic

  • Hancock Elyptic Diamond Mosaic
    • Hancock Elyptic Diamond Mosaic
    • Hancock Elyptic Diamond Mosaic

  • Hidden Falls Dew Drops Mosaic
    • Hidden Falls Dew Drops Mosaic
    • Hidden Falls Dew Drops Mosaic

  • Hypnotique Quattrofolio Beveled Mosaic
    • Hypnotique Quattrofolio Beveled Mosaic
    • Hypnotique Quattrofolio Beveled Mosaic

  • Inconspicuous Quattrofolio Beveled Mosaic
    • Inconspicuous Quattrofolio Beveled Mosaic
    • Inconspicuous Quattrofolio Beveled Mosaic

  • Jamaica Island Collection
    • Jamaica Island Collection
    • Jamaica Island Collection

  • Kingston Elyptic Brickset Mosaic
    • Kingston Elyptic Brickset Mosaic
    • Kingston Elyptic Brickset Mosaic

  • Lanai Island Mosaic
    • Lanai Island Mosaic
    • Lanai Island Mosaic

  • Liberty Falls Rockfall Mosaic
    • Liberty Falls Rockfall Mosaic
    • Liberty Falls Rockfall Mosaic

  • Lionell Excalibur Mosaic
    • Lionell Excalibur Mosaic
    • Lionell Excalibur Mosaic

  • Longs Peak 2By Combo Mosaic
    • Longs Peak 2By Combo Mosaic
    • Longs Peak 2By Combo Mosaic

  • Majestic 2By Combo Mosaic
    • Majestic 2By Combo Mosaic
    • Majestic 2By Combo Mosaic

  • Marigold Blossoms Mosaic
    • Marigold Blossoms Mosaic
    • Marigold Blossoms Mosaic

  • Marquise Facet Mosaic
    • Marquise Facet Mosaic
    • Marquise Facet Mosaic

  • Maui Island Mosaic
    • Maui Island Mosaic
    • Maui Island Mosaic

  • Mendon Elyptic Diamond Mosaic
    • Mendon Elyptic Diamond Mosaic
    • Mendon Elyptic Diamond Mosaic

  • Meteor Shower 1″ x 1″ Mosaic
    • Meteor Shower 1″ x 1″ Mosaic
    • Meteor Shower 1″ x 1″ Mosaic

  • Meteor Shower 1″ x 1″ Offset Mosaic
    • Meteor Shower 1″ x 1″ Offset Mosaic
    • Meteor Shower 1″ x 1″ Offset Mosaic

  • Meteor Shower 5/8″ x 5/8″ Mosaic
    • Meteor Shower 5/8″ x 5/8″ Mosaic
    • Meteor Shower 5/8″ x 5/8″ Mosaic

  • Metropolis 2By Combo Mosaic
    • Metropolis 2By Combo Mosaic
    • Metropolis 2By Combo Mosaic

  • Midnight Galaxy 1″ x 1″ Mosaic
    • Midnight Galaxy 1″ x 1″ Mosaic
    • Midnight Galaxy 1″ x 1″ Mosaic

  • Midnight Galaxy 1″ x 1″ Offset Mosaic
    • Midnight Galaxy 1″ x 1″ Offset Mosaic
    • Midnight Galaxy 1″ x 1″ Offset Mosaic

  • Midnight Monsoon 5/8″ Combo Mosaic
    • Midnight Monsoon 5/8″ Combo Mosaic
    • Midnight Monsoon 5/8″ Combo Mosaic

  • Midnight Muse 5/8″ x 5/8″ Mosaic
    • Midnight Muse 5/8″ x 5/8″ Mosaic
    • Midnight Muse 5/8″ x 5/8″ Mosaic

  • Milan Linear Mosaic
    • Milan Linear Mosaic
    • Milan Linear Mosaic

  • Mineral Herringbone Mosaic
    • Mineral Herringbone Mosaic
    • Mineral Herringbone Mosaic

  • Mineral Richter Mosaic
    • Mineral Richter Mosaic
    • Mineral Richter Mosaic

  • Mint Chocolate 1″ x 1″ Mosaic
    • Mint Chocolate 1″ x 1″ Mosaic
    • Mint Chocolate 1″ x 1″ Mosaic

  • Mint Chocolate 1″ x 1″ Offset Mosaic
    • Mint Chocolate 1″ x 1″ Offset Mosaic
    • Mint Chocolate 1″ x 1″ Offset Mosaic

  • Molokai Island Mosaic
    • Molokai Island Mosaic
    • Molokai Island Mosaic

  • Montego Bay 1″ x 1″ Mosaic
    • Montego Bay 1″ x 1″ Mosaic
    • Montego Bay 1″ x 1″ Mosaic

  • Montego Bay 1″ x 1″ Offset Mosaic
    • Montego Bay 1″ x 1″ Offset Mosaic
    • Montego Bay 1″ x 1″ Offset Mosaic

  • Montego Bay 5/8″ x 5/8″ Mosaic
    • Montego Bay 5/8″ x 5/8″ Mosaic
    • Montego Bay 5/8″ x 5/8″ Mosaic

  • Morningside Elyptic Brickset Mosaic
    • Morningside Elyptic Brickset Mosaic
    • Morningside Elyptic Brickset Mosaic

  • Mustang 5/8″ x 5/8″ Mosaic
    • Mustang 5/8″ x 5/8″ Mosaic
    • Mustang 5/8″ x 5/8″ Mosaic

  • New Windsor Button Mosaic
    • New Windsor Button Mosaic
    • New Windsor Button Mosaic

  • New Windsor Elyptic Brickset Mosaic
    • New Windsor Elyptic Brickset Mosaic
    • New Windsor Elyptic Brickset Mosaic

  • Newport Elyptic Diamond Mosaic
    • Newport Elyptic Diamond Mosaic
    • Newport Elyptic Diamond Mosaic

  • Newton’s Shadow 5/8″ x 5/8″ Mosaic
    • Newton’s Shadow 5/8″ x 5/8″ Mosaic
    • Newton’s Shadow 5/8″ x 5/8″ Mosaic

  • Nightshade Falling Leaves Mosaic
    • Nightshade Falling Leaves Mosaic
    • Nightshade Falling Leaves Mosaic

  • Nightshade Floral Mosaic
    • Nightshade Floral Mosaic
    • Nightshade Floral Mosaic

  • Northampton Elyptic Brickset Mosaic
    • Northampton Elyptic Brickset Mosaic
    • Northampton Elyptic Brickset Mosaic

  • Oahu Island Mosaic
    • Oahu Island Mosaic
    • Oahu Island Mosaic

  • Ohh La La Blend Chevron Mosaic
    • Ohh La La Blend Chevron Mosaic
    • Ohh La La Blend Chevron Mosaic

  • Ohh La La Lantern Mosaic
    • Ohh La La Lantern Mosaic
    • Ohh La La Lantern Mosaic

  • Optical Illusion 5/8″ Combo Mosaic
    • Optical Illusion 5/8″ Combo Mosaic
    • Optical Illusion 5/8″ Combo Mosaic

  • Orion Hexagon Mosaic
    • Orion Hexagon Mosaic
    • Orion Hexagon Mosaic

  • Oxford Elyptic Brickset Mosaic
    • Oxford Elyptic Brickset Mosaic
    • Oxford Elyptic Brickset Mosaic

  • Paradise Cove 5/8″ x 5/8″ Mosaic
    • Paradise Cove 5/8″ x 5/8″ Mosaic
    • Paradise Cove 5/8″ x 5/8″ Mosaic

  • Pearl Beach 2 By Basketweave Mosaic
    • Pearl Beach 2 By Basketweave Mosaic
    • Pearl Beach 2 By Basketweave Mosaic

  • Pearl Beach Linear Mosaic
    • Pearl Beach Linear Mosaic
    • Pearl Beach Linear Mosaic

  • Pearl Beach Mini Brickset Mosaic
    • Pearl Beach Mini Brickset Mosaic
    • Pearl Beach Mini Brickset Mosaic

  • Pelican Bay Linear Mosaic
    • Pelican Bay Linear Mosaic
    • Pelican Bay Linear Mosaic

  • Percival Excalibur Mosaic
    • Percival Excalibur Mosaic
    • Percival Excalibur Mosaic

  • Perseus Parallel Mosaic
    • Perseus Parallel Mosaic
    • Perseus Parallel Mosaic

  • Perseus Random Linear Mosaic
    • Perseus Random Linear Mosaic
    • Perseus Random Linear Mosaic

  • Pingora 2By Combo Mosaic
    • Pingora 2By Combo Mosaic
    • Pingora 2By Combo Mosaic

  • Pingora Herringbone Mosaic
    • Pingora Herringbone Mosaic
    • Pingora Herringbone Mosaic

  • Pingora Linear Mosaic
    • Pingora Linear Mosaic
    • Pingora Linear Mosaic

  • Pingora Richter Mosaic
    • Pingora Richter Mosaic
    • Pingora Richter Mosaic

  • Pisces Hexagon Mosaic
    • Pisces Hexagon Mosaic
    • Pisces Hexagon Mosaic

  • Pistachio 5/8″ x 5/8″ Mosaic
    • Pistachio 5/8″ x 5/8″ Mosaic
    • Pistachio 5/8″ x 5/8″ Mosaic

  • Platinum Greige 2By Combo Mosaic
    • Platinum Greige 2By Combo Mosaic
    • Platinum Greige 2By Combo Mosaic

  • Platinum Ravine Herringbone Mosaic
    • Platinum Ravine Herringbone Mosaic
    • Platinum Ravine Herringbone Mosaic

  • Platinum Ravine Richter Mosaic
    • Platinum Ravine Richter Mosaic
    • Platinum Ravine Richter Mosaic

  • Platinum Whisper 1″ x 1″ Mosaic
    • Platinum Whisper 1″ x 1″ Mosaic
    • Platinum Whisper 1″ x 1″ Mosaic

  • Platinum Whisper 1″ x 1″ Offset Mosaic
    • Platinum Whisper 1″ x 1″ Offset Mosaic
    • Platinum Whisper 1″ x 1″ Offset Mosaic

  • Platinum Whisper 5/8″ Combo Mosaic
    • Platinum Whisper 5/8″ Combo Mosaic
    • Platinum Whisper 5/8″ Combo Mosaic

  • Platinum Whisper 5/8″ x 5/8″ Mosaic
    • Platinum Whisper 5/8″ x 5/8″ Mosaic
    • Platinum Whisper 5/8″ x 5/8″ Mosaic

  • Platinum Whisper Refraction Mosaic
    • Platinum Whisper Refraction Mosaic
    • Platinum Whisper Refraction Mosaic

  • Ravenous 1″ x 1″ Mosaic
    • Ravenous 1″ x 1″ Mosaic
    • Ravenous 1″ x 1″ Mosaic

  • Ravenous 1″ x 1″ Offset Mosaic
    • Ravenous 1″ x 1″ Offset Mosaic
    • Ravenous 1″ x 1″ Offset Mosaic

  • Ridge Rock Linear Mosaic
    • Ridge Rock Linear Mosaic
    • Ridge Rock Linear Mosaic

  • Rising Moon 2By Combo Mosaic
    • Rising Moon 2By Combo Mosaic
    • Rising Moon 2By Combo Mosaic

  • Rocky Road 5/8″ x 5/8″ Mosaic
    • Rocky Road 5/8″ x 5/8″ Mosaic
    • Rocky Road 5/8″ x 5/8″ Mosaic

  • Rocky Road Refraction Mosaic
    • Rocky Road Refraction Mosaic
    • Rocky Road Refraction Mosaic

  • Rolling Oaks 5/8″ Combo Mosaic
    • Rolling Oaks 5/8″ Combo Mosaic
    • Rolling Oaks 5/8″ Combo Mosaic

  • Rushmore 5/8″ x 5/8″ Mosaic
    • Rushmore 5/8″ x 5/8″ Mosaic
    • Rushmore 5/8″ x 5/8″ Mosaic

  • Rustic Forest Linear Mosaic
    • Rustic Forest Linear Mosaic
    • Rustic Forest Linear Mosaic

  • Sand Ridge Linear Mosaic
    • Sand Ridge Linear Mosaic
    • Sand Ridge Linear Mosaic

  • Scarlet Knight 5/8″ x 5/8″ Mosaic
    • Scarlet Knight 5/8″ x 5/8″ Mosaic
    • Scarlet Knight 5/8″ x 5/8″ Mosaic

  • Seaside Landslide Mosaic
    • Seaside Landslide Mosaic
    • Seaside Landslide Mosaic

  • Shades of Grey 1″ x 1″ Mosaic
    • Shades of Grey 1″ x 1″ Mosaic
    • Shades of Grey 1″ x 1″ Mosaic

  • Shades of Grey 1″ x 1″ Offset Mosaic
    • Shades of Grey 1″ x 1″ Offset Mosaic
    • Shades of Grey 1″ x 1″ Offset Mosaic

  • Shark Cove 2 By Basketweave Mosaic
    • Shark Cove 2 By Basketweave Mosaic
    • Shark Cove 2 By Basketweave Mosaic

  • Shark Cove Linear Mosaic
    • Shark Cove Linear Mosaic
    • Shark Cove Linear Mosaic

  • Shark Cove Mini Brickset Mosaic
    • Shark Cove Mini Brickset Mosaic
    • Shark Cove Mini Brickset Mosaic

  • Shelburne Elyptic Diamond Mosaic
    • Shelburne Elyptic Diamond Mosaic
    • Shelburne Elyptic Diamond Mosaic

  • Sherman 5/8″ x 4″ Herringbone Mosaic
    • Sherman 5/8″ x 4″ Herringbone Mosaic
    • Sherman 5/8″ x 4″ Herringbone Mosaic

  • Ship Rock 2By Combo Mosaic
    • Ship Rock 2By Combo Mosaic
    • Ship Rock 2By Combo Mosaic

  • Ship Rock Landslide Mosaic
    • Ship Rock Landslide Mosaic
    • Ship Rock Landslide Mosaic

  • Silver Lining 1″ x 1″ Mosaic
    • Silver Lining 1″ x 1″ Mosaic
    • Silver Lining 1″ x 1″ Mosaic

  • Silver Lining 1″ x 1″ Offset Mosaic
    • Silver Lining 1″ x 1″ Offset Mosaic
    • Silver Lining 1″ x 1″ Offset Mosaic

  • Silver Mine 1″ x 1″ Mosaic
    • Silver Mine 1″ x 1″ Mosaic
    • Silver Mine 1″ x 1″ Mosaic

  • Silver Mine 1″ x 1″ Offset Mosaic
    • Silver Mine 1″ x 1″ Offset Mosaic
    • Silver Mine 1″ x 1″ Offset Mosaic

  • Simply Soft 1″ x 1″ Mosaic
    • Simply Soft 1″ x 1″ Mosaic
    • Simply Soft 1″ x 1″ Mosaic

  • Simply Soft 1″ x 1″ Offset Mosaic
    • Simply Soft 1″ x 1″ Offset Mosaic
    • Simply Soft 1″ x 1″ Offset Mosaic

  • Singin the Blues 5/8″ x 5/8″ Mosaic
    • Singin the Blues 5/8″ x 5/8″ Mosaic
    • Singin the Blues 5/8″ x 5/8″ Mosaic

  • Skinny Dipping Quattrofolio Beveled Mosaic
    • Skinny Dipping Quattrofolio Beveled Mosaic
    • Skinny Dipping Quattrofolio Beveled Mosaic

  • Smores 5/8″ x 5/8″ Mosaic
    • Smores 5/8″ x 5/8″ Mosaic
    • Smores 5/8″ x 5/8″ Mosaic

  • Snowmass 5/8″ x 4″ Herringbone Mosaic
    • Snowmass 5/8″ x 4″ Herringbone Mosaic
    • Snowmass 5/8″ x 4″ Herringbone Mosaic

  • Snowy Range 5/8″ x 5/8″ Mosaic
    • Snowy Range 5/8″ x 5/8″ Mosaic
    • Snowy Range 5/8″ x 5/8″ Mosaic

  • Socialite Lantern Mosaic
    • Socialite Lantern Mosaic
    • Socialite Lantern Mosaic

  • Somerset Button Mosaic
    • Somerset Button Mosaic
    • Somerset Button Mosaic

  • Somerset Elyptic Brickset Mosaic
    • Somerset Elyptic Brickset Mosaic
    • Somerset Elyptic Brickset Mosaic

  • Sputnik Blossoms Mosaic
    • Sputnik Blossoms Mosaic
    • Sputnik Blossoms Mosaic

  • Starlet Blend Chevron Mosaic
    • Starlet Blend Chevron Mosaic
    • Starlet Blend Chevron Mosaic

  • Starlet Lantern Mosaic
    • Starlet Lantern Mosaic
    • Starlet Lantern Mosaic

  • Steel Wool 5/8″ Combo Mosaic
    • Steel Wool 5/8″ Combo Mosaic
    • Steel Wool 5/8″ Combo Mosaic

  • Steelcase Landslide Mosaic
    • Steelcase Landslide Mosaic
    • Steelcase Landslide Mosaic

  • Strada Falls Rockfall Mosaic
    • Strada Falls Rockfall Mosaic
    • Strada Falls Rockfall Mosaic

  • Sugar Island 2 By Basketweave Mosaic
    • Sugar Island 2 By Basketweave Mosaic
    • Sugar Island 2 By Basketweave Mosaic

  • Sugar Island Linear Mosaic
    • Sugar Island Linear Mosaic
    • Sugar Island Linear Mosaic

  • Sugar Island Mini Brickset Mosaic
    • Sugar Island Mini Brickset Mosaic
    • Sugar Island Mini Brickset Mosaic

  • Sutherland Falls Rockfall Mosaic
    • Sutherland Falls Rockfall Mosaic
    • Sutherland Falls Rockfall Mosaic

  • Sweet Pea River Random Linear Mosaic
    • Sweet Pea River Random Linear Mosaic
    • Sweet Pea River Random Linear Mosaic

  • Sweet Pea Turning Point Mosaic
    • Sweet Pea Turning Point Mosaic
    • Sweet Pea Turning Point Mosaic

  • Tahiti Island Mosaic
    • Tahiti Island Mosaic
    • Tahiti Island Mosaic

  • Ten Mile Falls Rockfall Mosaic
    • Ten Mile Falls Rockfall Mosaic
    • Ten Mile Falls Rockfall Mosaic

  • Tickled Pink Quattrofolio Beveled Mosaic
    • Tickled Pink Quattrofolio Beveled Mosaic
    • Tickled Pink Quattrofolio Beveled Mosaic

  • Tinman Quattrofolio Mosaic
    • Tinman Quattrofolio Mosaic
    • Tinman Quattrofolio Mosaic

  • Titanium, Stainless and White Glass Linear Mosaic
    • Titanium, Stainless and White Glass Linear Mosaic
    • Titanium, Stainless and White Glass Linear Mosaic

  • Treasure Chest 5/8″ Combo Mosaic
    • Treasure Chest 5/8″ Combo Mosaic
    • Treasure Chest 5/8″ Combo Mosaic

  • Trevi Fountain 1″ x 1″ Mosaic
    • Trevi Fountain 1″ x 1″ Mosaic
    • Trevi Fountain 1″ x 1″ Mosaic

  • Trevi Fountain 1″ x 1″ Offset Mosaic
    • Trevi Fountain 1″ x 1″ Offset Mosaic
    • Trevi Fountain 1″ x 1″ Offset Mosaic

  • Tristan Excalibur Mosaic
    • Tristan Excalibur Mosaic
    • Tristan Excalibur Mosaic

  • Tropic Boom Random Linear Mosaic
    • Tropic Boom Random Linear Mosaic
    • Tropic Boom Random Linear Mosaic

  • Turtle Bay 2 By Basketweave Mosaic
    • Turtle Bay 2 By Basketweave Mosaic
    • Turtle Bay 2 By Basketweave Mosaic

  • Turtle Bay Linear Mosaic
    • Turtle Bay Linear Mosaic
    • Turtle Bay Linear Mosaic

  • Turtle Bay Mini Brickset Mosaic
    • Turtle Bay Mini Brickset Mosaic
    • Turtle Bay Mini Brickset Mosaic

  • Tuscan Splendor 5/8″ Combo Mosaic
    • Tuscan Splendor 5/8″ Combo Mosaic
    • Tuscan Splendor 5/8″ Combo Mosaic

  • Tuscan Splendor 5/8″ x 5/8″ Mosaic
    • Tuscan Splendor 5/8″ x 5/8″ Mosaic
    • Tuscan Splendor 5/8″ x 5/8″ Mosaic

  • Tyndall 5/8″ x 4″ Herringbone Mosaic
    • Tyndall 5/8″ x 4″ Herringbone Mosaic
    • Tyndall 5/8″ x 4″ Herringbone Mosaic

  • Urban Cowboy 2By Combo Mosaic
    • Urban Cowboy 2By Combo Mosaic
    • Urban Cowboy 2By Combo Mosaic

  • Whisper Gray Random Linear Mosaic
    • Whisper Gray Random Linear Mosaic
    • Whisper Gray Random Linear Mosaic

  • Whisper Gray River Random Linear Mosaic
    • Whisper Gray River Random Linear Mosaic
    • Whisper Gray River Random Linear Mosaic

  • Whisper Gray Turning Point Mosaic
    • Whisper Gray Turning Point Mosaic
    • Whisper Gray Turning Point Mosaic

  • White Cosmo 1″ x 1″ Offset Mosaic
    • White Cosmo 1″ x 1″ Offset Mosaic
    • White Cosmo 1″ x 1″ Offset Mosaic

  • White Fossil 2By Combo Mosaic
    • White Fossil 2By Combo Mosaic
    • White Fossil 2By Combo Mosaic

  • White Fossil 5/8″ Combo Mosaic
    • White Fossil 5/8″ Combo Mosaic
    • White Fossil 5/8″ Combo Mosaic

  • White Fossil Refraction Mosaic
    • White Fossil Refraction Mosaic
    • White Fossil Refraction Mosaic

  • White River Random Linear Mosaic
    • White River Random Linear Mosaic
    • White River Random Linear Mosaic

  • White Sand 2 By Basketweave Mosaic
    • White Sand 2 By Basketweave Mosaic
    • White Sand 2 By Basketweave Mosaic

  • White Sand Chevron Mosaic
    • White Sand Chevron Mosaic
    • White Sand Chevron Mosaic

  • White Sand Linear Mosaic
    • White Sand Linear Mosaic
    • White Sand Linear Mosaic

  • White Turning Point Mosaic
    • White Turning Point Mosaic
    • White Turning Point Mosaic

  • Whitetail 2By Combo Mosaic
    • Whitetail 2By Combo Mosaic
    • Whitetail 2By Combo Mosaic

  • Wild Mushroom River Random Linear Mosaic
    • Wild Mushroom River Random Linear Mosaic
    • Wild Mushroom River Random Linear Mosaic

  • Wild Mushroom Turning Point Mosaic
    • Wild Mushroom Turning Point Mosaic
    • Wild Mushroom Turning Point Mosaic

  • Woodland Trail 5/8″ x 5/8″ Mosaic
    • Woodland Trail 5/8″ x 5/8″ Mosaic
    • Woodland Trail 5/8″ x 5/8″ Mosaic

Copyright - WordPress Theme by OceanWP